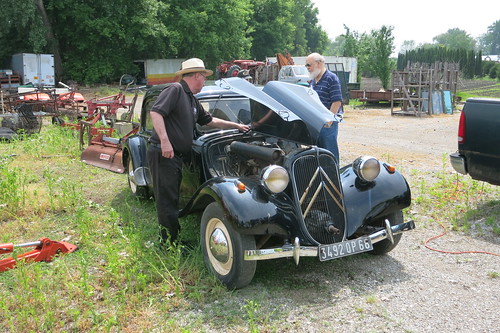
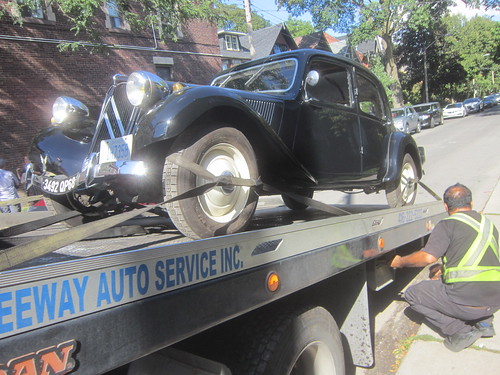
Is it still a project when I haven’t done anything yet
Traction Owner’s Club › Forums › General discussions › Is it still a project when I haven’t done anything yet
- This topic has 170 replies, 9 voices, and was last updated 4 years, 3 months ago by Larry Lewis.
-
AuthorPosts
-
3rd September 2019 at 8:50 pm #254873rd September 2019 at 8:53 pm #25488
Larry Lewis
ParticipantI can’t post a direct link to my Flickr account here so if you want to see new pictures, go back to column 4 and click on the link there. Maybe someone can help me with this?
3rd September 2019 at 9:47 pm #25489Larry Lewis
Participant4th September 2019 at 9:25 am #25492Philippe Allison
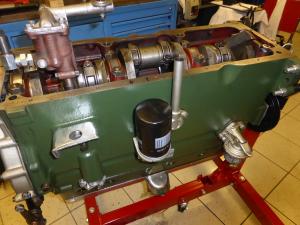
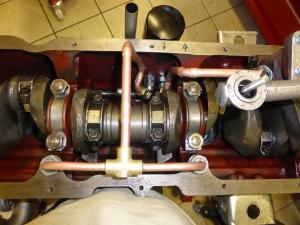
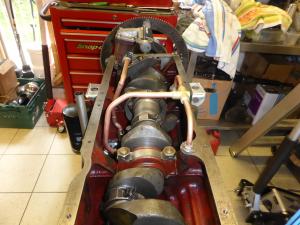
ParticipantRoger is correct in what he said, you do really need to run all the oil through the filter that way every drop of oil that lubricates the main bearings, big ends etc passes through the filter and has no debris in it. I guess anything is better that nothing!
I have fitted a full flow filter to my 6, it was an extremely difficult job and required the engine to be stripped, a filter housing to be fitted to the block and the internal plumbing to and from the filter. I used a Mocal housing with a VW oil filter cartridge. It is important when selecting the filter to ensure that it has a built in bypass in case it gets blocked.
When I next have nothing to do I will attempt the same job on the Roadster but I suspect it will be much more difficult as there is less room in the engine and very little space down the side of the engine so a remote filter will be needed with flexible armoured pipes!
Happy tractioning
Philippe Allison
 4th September 2019 at 11:40 pm #25498
Larry Lewis
ParticipantRoger may have gotten his idea many years ago when he visited me in New York and saw my car with the filter. He looked and pondered and finally said that he could come up with a full-flow design. He did and I visited him a couple of years ago in Beverley and there in his shop were one or two 11 blocks that he obviously used as guinea pigs. His Light 15 has a full-flow on it. I’d rather mine was a full-flow but I did what I did and I’m happy with it. It’s sure better than factory equipment. Over here, there are high performance shops that sell remote oil filter equipment, brackets and such that take a standard available filter. I might do that next time instead of the toilet paper type that while it works well, is a bit messy to change.
22nd September 2019 at 4:32 pm #25570Larry Lewis
Participant4 new door skins and inner frames have arrived and are at the body shop. 1,120.75 Euros including shipping- a lot cheaper than trying to form new inner frames. I should have some new pictures posted in a week or two.
28th January 2020 at 8:14 pm #26028Larry Lewis
ParticipantThe body shop is finally doing the door skins! New pictures have been added to the Flickr account so have a look if you want. I was told that the new inner frame did not have enough of a flange along the bottom edge so a strip of metal was added there. Also, the upper edge of the skin did not match the crease in the original door so the original skin was cut about 1/2 inch below that and a flange was added with a pneumatic tool and the new skin was welded over top of that for a flush fit and then crimped along the outer edges. Some body filler will be needed but not a lot. Great work, I think. It took 2 days to do the one door but the body man said that the other doors should take less time since they now know just how to do it. The car should be done by April and then the interior. Once that’s done I’ll have a pretty nice BL!
8th February 2020 at 2:18 am #26066Larry Lewis
Participant29th May 2020 at 8:25 pm #26773Larry Lewis
ParticipantThe right rear door is almost done- it’s on the car but some final tweaking remains to be done. The left rear door is in progress as you can see. The rusty bits will be sandblasted and painted before work progresses.
10th July 2020 at 10:23 pm #27007Larry Lewis
ParticipantThe left rear door is done and back on the car. Now it will be sanded down and painted and any other defects will be sorted out. Hopefully by the end of the summer it will be done and I can start on the interior. Hopefully, yeah- I was hoping it would have been done by April this year- so much for that! The body shop does have some interesting cars in progress- a friend’s ID19 and 2CV, a 1968 Alfa Romeo coupe and a Volvo P1800.
- This reply was modified 5 years, 7 months ago by Larry Lewis.
1st October 2020 at 12:57 am #27515Larry Lewis
ParticipantWork is being done on it again after a long hiatus on the part of the body shop that was busy with collision work which always takes precedence. I have added 4 new pictures; these show work done on the right rear door opening. With the new door skin, the rear corner of the door didn’t match the body so that area was built up with glass fibre. The RF door is being finished off and the area where the skin was welded to the door will be filled with glass fibre also. Right now I don’t know when this thing will be finished but the work they do is worth it.
20th January 2021 at 4:45 am #27886Larry Lewis
ParticipantI’ve uploaded a bunch more photos if you’re interested. It shows evidence of previous repairs and looks like the right side wing-end has been done before but poorly. The inner lip of the RF wing shows cracks and a fairly thick layer of body filler. I wonder what’s under the rest of the paint? The right rear wing looks pretty good and sorting it out shouldn’t take too much effort. I am surprised at the condition of the front part of the body and especially the rear of the sill. It looks pretty solid in both places. I’ve ordered both wing-ends from Jose Franssen and should have them in a couple of weeks. Progress is being made.
- This reply was modified 5 years ago by Larry Lewis.
- This reply was modified 5 years ago by Larry Lewis.
20th January 2021 at 4:53 am #27889Larry Lewis
ParticipantActually it was the left side- mea culpa- The near side as you say over there? Driver’s side as we say over here.
22nd January 2021 at 9:19 pm #27898Larry Lewis
Participanthttps://www.flickr.com/photos/150553063@N05- You know what I really like about this kind of work? It’s that I don’t have to do any of it! Grinding, sanding and then more sanding is no fun.
22nd January 2021 at 9:21 pm #27899Larry Lewis
Participanthttps://www.flickr.com/photos/150553063@N05/ hopefully, this link will work
-
AuthorPosts
- You must be logged in to reply to this topic.

